Building a manabase in singleton formats can be a daunting task. In 60 card 4-of formats, the core structure of manabases is largely pre-determined by the best cycles of dual lands legal in that format. For example, Modern is defined by the Onslaught/Zendikar Fetchlands paired with Ravnica Shocklands, while Legacy is defined by the Fetchlands and the original Alpha dual lands.
In eternal formats, the singleton constraint tests not only the deck builder’s knowledge of available land cycles within their chosen colors, but also how to choose a balanced set of lands that meet their deck’s color and curve requirements.
In this article, I will go over my process for building a manabase in singleton formats, which includes statistical and probabilistic tools to help you choose which lands and how many to play. While the examples are primarily in the context of Canadian Highlander, the concepts are applicable to European Highlander, Gladiator, Commander and 7 Point Highlander as well.
When building new decks, I generally choose all the nonland cards I want to play before I start to work on the manabase. If you don’t have a rough idea of the ratio of lands to spells your deck needs, one trick is to look at sample decklists of similar archetypes in other eternal formats and copy their ratios, scaling the exact values as needed. This will give you a baseline number of spells to fill out or cut down to.
Once you have chosen the spells you’d like to play, the first step to building a manabase is determining approximately how many lands you need, which unfortunately isn’t as simple as the minimum deck size minus the number of chosen spells. Factors such as the deck’s curve, composition and average mana value will inform what that baseline number should be. The tool we’ll be looking at that helps us find this number is Frank Karsten’s formula.
Frank Karsten’s Formula
Dr. Frank Karsten is a Pro Tour Hall of Famer with a doctorate in Operations Research and Game Theory. He wrote an excellent article addressing the question of how many lands you should run in your deck, in which he introduces several formulas based off of linear regressions of winning constructed decks across many formats. The only changes I made to the formulas presented here were moving MDFCs to the right side of the equations and separating fast mana from ramp, for reasons explained later.
For Canlander, European Highlander and Gladiator, the converted formula is:
Number of lands = 32.65 + (3.16 * avgmv) - (0.28 * (ramp + draw)) - fast - (0.74 * mdfc1) - (0.38 * mdfc2)where:
- avgmv: the average mana value of your deck (total mana value / number of spells)
- ramp : nonland cards with mv<=2 that produce mana at some cost
- draw: nonland cards with mv<=2 that draw one or more cards
- fast : nonland cards that produce mana at no additional cost
- mdfc1: MDFCs that can enter untapped
- mdfc2: MDFCs that always enter tapped
For Commander, Karsten’s 98-99 card formula is:
((100 - commanders) / 60) * (19.59 + (1.90 * avgmv) + (0.27 * commanders)) - (0.28 * (ramp + draw)) - fast - (0.74 * mdfc1) - (0.38 * mdfc2) - 1.35The 1.35 is a rough account of the guaranteed draw on turn 1 and the free mulligan.
For 7 Point Highlander, the 60 card formula is:
19.59 + (1.90 * avgmv) - (0.28 * (ramp + draw)) - fast - (0.74 * mdfc1) - (0.38 * mdfc2) + (0.27 * companion)I wrote a simple interactive formula that you can try out below or here.
There’s a lot to unpack here, so let’s go over what each variable entails:
Modal Double-Faced Cards
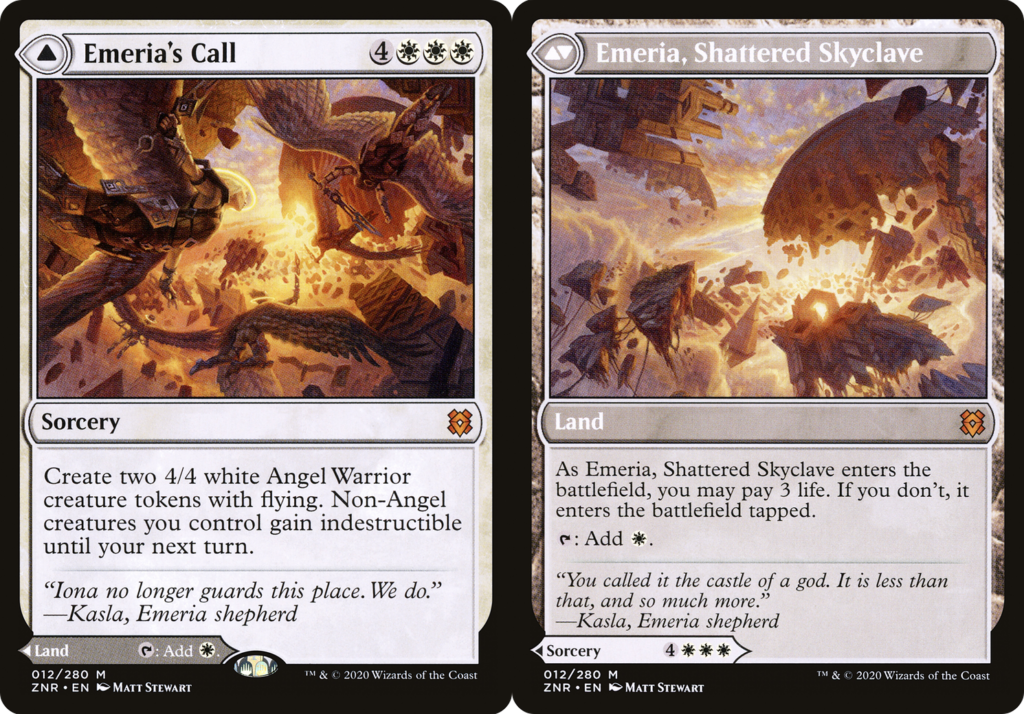
Karsten’s regression model with Modal Double-Faced Cards (MDFCs) results in MDFCs that can enter as untapped lands (Emeria’s Call) counting as 0.74 lands, while MDFCs that always enter tapped (Spikefield Hazard) count as 0.38 lands. These values are an aggregate of how often the you are expected to play them as a land versus cast them as a spell. However, you can adjust these values to better suit how your deck uses MDFCs. For example, aggressive mono-white decks use Emeria’s Call as a land that can be exiled to Chrome Mox and Solitude, so you can treat it as a land and ignore the front face if your curve is low and you expect to rarely cast it.
Average Mana Value
Average mana value is calculated by adding the total mana value of all nonland cards, and dividing by the total number of nonland cards in the deck. For a simple concept, there are a surprising number of exceptions detailed below.
Fast mana should be excluded from both the total mana value and the total number of nonland cards due to them being treated as part of the manabase.
For MDFCs, use the mana value of the front face, unless you never intend to cast them, in which case exclude them from both totals.
For spells with alternate casting costs, consider how often you expect to cast them for their normal cost versus their alternate cost. If you expect to almost always use the alternate cost (Force of Will, cards with Transmute), use the mana value of that cost instead of the normal cost. For spells where you often make use of both costs (Endurance, Brazen Borrower), use the mana value of the higher cost.
Spells with Delve are a bit tricky to account for because their “true” costs follow a spread of probabilities that depend on many factors, including but not limited to when you draw them, how your graveyard developed, and how many delve spells you drew that game. If you have a sense of what the average amount of mana you spend to cast each delve spell is, you can use that towards your deck’s total mana value. A simple (and optimistic) way to acknowledge the variance in costs paid is to use the colored cost of the spell plus 1 generic (Treasure Cruise: 2, Dig Through Time: 3).
For spells with X in their cost, you can use the mana value corresponding to the lowest value of X you would use.
For split cards (Fire // Ice), their mana value is technically the combined mana value of both halves, and this is the value most deck building websites use when calculating your total mana value. If you only intend to use one half, use that mana value. If you use both, treat it like a spell with an alternate casting cost.
Spells with Suspend should use the mana value of the suspend cost.
Some combo decks include cards with very high mana values or severely restrictive costs that they never intend to cast (Emrakul, the Aeons Torn, Protean Hulk). These should be omitted from both totals.
Card Draw
Defined as nonland cards with mana value two or less that draw a card or puts a card from your library into your hand. For permanents, the card must be drawn on cast, when the permanent enters the battlefield (Elvish Visionary), or by activating an ability with no additional restrictive costs (Conjurer’s Bauble). Don’t forget to count cards with cheap cycling costs.
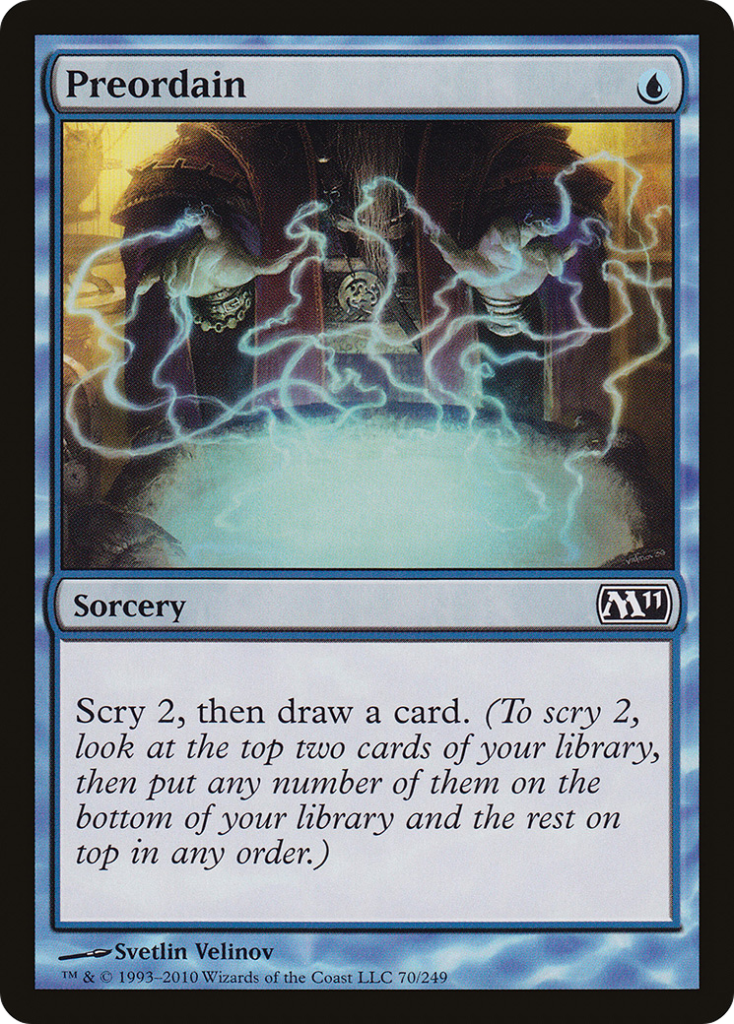
Bear in mind that while the formula averages all card draw spells as 0.28 lands, the specific cards you play will have a range of values of lesser or greater efficacy in finding lands. Cards like Ponder are significantly better at finding lands than cards like Gitaxian Probe. For simplicity, it is generally not necessary to assign special values to better or worse cantrips, but an extreme outlier like Ancestral Recall could be given its own value of 0.8 to 1.1 or so if desired.
Ramp
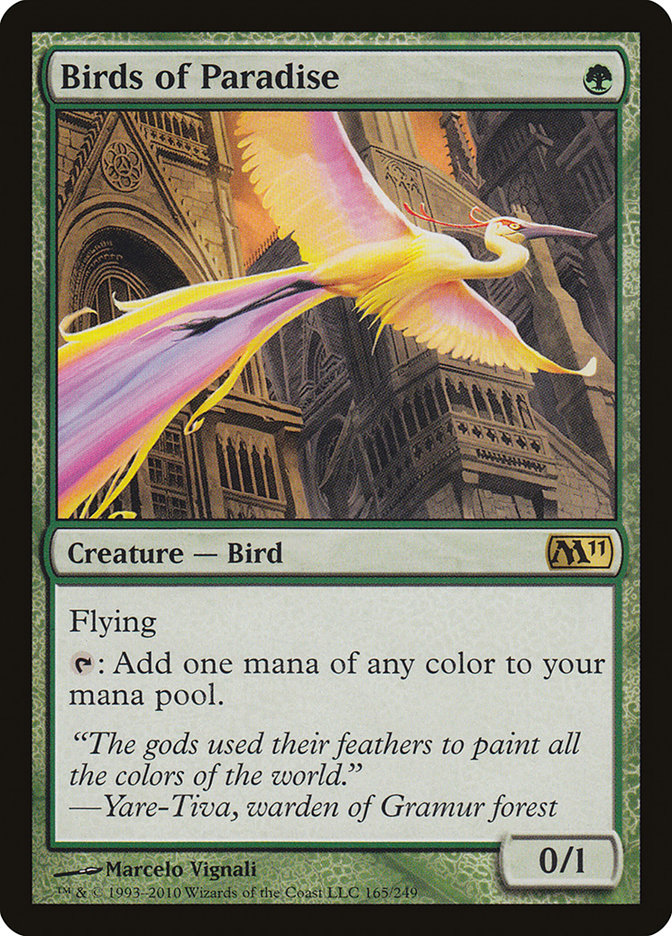
Karsten defines cheap ramp as nonland cards with mana value two or less that can produce mana either repeatedly (Birds of Paradise), in limited uses (Lotus Petal), or increase the amount of mana a land produces (Utopia Sprawl). It also includes cards that can put lands directly into play (Nature’s Lore), or cast spells or put permanents from your hand into play (Aether Vial).
As with card draw, the formula averages all ramp spells into a value of 0.28 lands. Sol Ring deserves a special mention as an extreme outlier, and you can assign it a value of 0.8 or higher if desired.
Fast Mana
Fast mana is defined here as nonland cards that cost 0 and can repeatedly produce mana at no additional cost, with little to no restriction. Being essentially free, these cards can directly replace a land, and mostly comprise of artifacts such as the five moxen, Mana Crypt, and Chrome Mox.
While Karsten’s data set included vintage decks running fast mana and his linear regression presumably categorized fast mana as ramp, I felt that these cards deserved to be separated into their own category due to them costing no mana and functionally acting as additional land drops.
Cards that require a threshold of permanents on the board like Mox Opal and Mox Amber may be better suited to the ramp category due to the effort required to enable them.
Mox Diamond generally should not be included in this category, because the cost of discarding a land makes it a net 0 towards your total number of available mana sources.
Also excluded are one-shot accelerants like Lotus Petal and Mana Vault, which are traditionally considered “fast mana” when discussed in other contexts but are counted as ramp here.
The goal of the formula is to provide a baseline number of lands to start from that you can trust to have considered the various factors affecting land count. I encourage you to try applying this formula to your other decks to see how close they line up with this model.
Sometimes, the formula will output a number that is several lands short or long of what the deck needs. This usually happens when a deck wants to hit a specific mana threshold that isn’t captured by the average mana value. I’ve noticed this is more common in aggro and combo decks than other archetypes.
Consider Seeker Walk, a powerful infinite-turns combo deck in Canlander composed of Eternal/Timeless Witness, Time Walk and Ephemerate. To begin the combo, the deck needs to be able to produce 6 mana (2U Spellseeker, W Ephemerate, 1U Time Walk) on the first turn, and 5 mana (W Ephemerate, UG Neoform, 1U Time Walk) on the extra turn. This requirement isn’t captured by any of the variables in the formula. There might not even be any individual cards that cost 6 or more in the deck! If the deck is running a full suite of 1mv mana dorks, the formula’s consideration of the ramp in conjunction with the omission of the 6 mana threshold can output a number of lands that does not reliably allow the deck to execute its combo.
Low curve aggressive decks have the opposite problem, where little to no ramp and card draw will result in the formula sometimes recommending 37% or more mana sources. This is often too much for decks that usually want no more than 4 lands in play, and no more than 3 lands in the opening hand. I suspect the formula’s base values of 32.65 for 100 card decks and 19.59 for 60 card decks are too high for decks with a strict cutoff.
Fortunately, both of these edge cases can be addressed with techniques introduced in the next section.
Finally, consider how often your opponent(s) will interact with your manabase. In Canlander, Wasteland is very commonly played, with Strip Mine and Stifle appearing occasionally. Mana dorks tend not to live long, and hand attack spells can take away your fast mana before you have a chance to act on the draw. In highly interactive metas, err towards rounding up the land count if the significant figure is 0.5 or more.
Using a Hypergeometric Calculator
A hypergeometric calculator is a tool for calculating the probability of having a certain number of successes given a sample size, population size, and the number of successes in the population. Despite the intimidating name, it is simple to use. The key to using a hypergeometric calculator effectively is in understanding what kinds of questions your deck asks of you that it can answer. When building a manabase, it helps determine how many lands of a particular type or quality you need to enable key cards by desired turns. In this section we’ll go through several examples of common questions, as well as some advanced applications to help identify the requirements your deck’s manabase needs to meet.
Try out a hypergeometric calculator below or here.
Example #1:
What is the probability of drawing at least two lands in the opening hand of my 100 card deck if I run 38 lands?
> population: 100, sample size: 7, successes in population: 38, target: 2
> exactly 2: 28.42%, at least 2: 82.33%, none: 3.07%Population: What we’re sampling from. Usually this is the deck. For questions regarding the opening hand or the opening hand plus a few turns, we use the deck’s maximum size as the population.
Sample size: The number of cards we see in any given situation. For opening hand + n turns questions, use 7 + n draw steps on the play, and 8 + n on the draw.
Successes in population: The number of hits in our deck.
Target: The number of hits we need to satisfy the requirements of our question.
Most hypergeometric calculators will return a few outputs related to the target x: the probability of exactly x, at least x, and less than x or none. Usually, the output of interest is the “at least” value, as it encompasses the cumulative probability of all states that contain the target.
While the calculator is able to answer our questions to an exact percentage, how do we judge the quality of that answer? In other words, how do we know if that percentage is “good enough” for our deckbuilding purposes? Unfortunately, this author doesn’t have a degree in Probability and Statistics, so I don’t know of a strict definition of how high a percentage must be to be considered “reliable”. Personally, I use 75% as my bar for “okay” for non-critical requirements, 85% as “reliable” for most important metrics, and 90% as “very reliable” for critical metrics. These correspond to failure rates of 1/4, 1/6.67, and 1/10. It’s up to you to choose a bar you’re comfortable with.
Once you have a desired percentage in mind, you can adjust successes in population until you reach it.
Example #2:

How many white sources do I need to reliably cast a 1WW spell on turn 3 on the play?
> population: 100, sample size: 9, successes in population: 32, target: 2
> exactly 2: 25.28%, at least 2: 84.97%, none: 2.59%


> population: 60, sample size: 9, successes in population: 19, target: 2
> exactly 2: 26.01%, at least 2: 85.35%, none: 2.370%
For comparison, you only need 19/100 or 11/60 white sources to surpass 85% to cast a 2W spell on curve. Spells with two or more pips of the same color are among the greatest sources of strain on a manabase.
Example #3:
How many Forests do I need for Arbor Elf to be very reliably enabled on turn 1 on the play?
> population: 99, sample size: 6, successes in population: 31, target: 1
> exactly 1: 28.84%, at least 1: 90.23%, none: 9.77%


> population: 59, sample size: 6, successes in population: 18, target: 1
> exactly 1: 29.94%, at least 1: 90.02%, none: 9.98%
This example is assuming we are looking at opening hands that contain Arbor Elf, thus our sample size and population are each reduced by 1. The distinction between this and the general probability of at least one Forest without Arbor Elf is made because we wouldn’t necessarily care about needing a Forest in our opening hand when we don’t have a card that specifically wants one.
While you technically have an additional draw step (two on the draw) to find a Forest, absent other factors you most likely would not keep a hand with Arbor Elf and without a Forest, so sample size remains at hand size – 1. When you start to fill out your manabase, keep in mind that Fetchlands that can grab Forests count towards successes in population, as do exceptions like Yavimaya, Cradle of Growth.
Example #4:
How many Islands do I need to enable Mystic Sanctuary by turn 4 on the play?
> population: 100, sample size: 10, successes in population: 26, target: 3
> exactly 3: 27.03%, at least 3: 50.95%, none: 4.15%


> population: 60, sample size: 10, successes in population: 16, target: 3
> exactly 3: 28.46%, at least 3: 53.46%, none: 3.29%
Here is an example of a question that isn’t easily answered by a hypergeometric calculator. At a glance, 26/100 Islands for ~51% looks pretty pathetic. It would require 35 to surpass 75%, and 41 to surpass 85%, numbers that aren’t really feasible outside of mono-blue decks. However, these counts are for trying to curve out Sanctuary on turn 4, which isn’t always how the card is played.
Mystic Sanctuary is very valuable to have in your library in the mid to late game, while being very bad in most opening hands or as an early draw. Depending on how the game develops, you may not have a desirable target in your graveyard by turn 4. Still, decks running Sanctuary are incentivized to get three Islands as soon as possible to position themselves for when a high value target is drawn. Doing so also greatly reduces the risk of Sanctuary entering tapped at a critical moment.
While that context helps clarify that Sanctuary isn’t always played on curve, it doesn’t directly point to the number of Islands we’re looking for. In these situations, it’s helpful to reference other formats. Before the banning of Expressive Iteration in Legacy, UR Delver frequently ran 19 lands, of which 1 was Sanctuary, 4 were Wasteland, and the rest Islands or Fetchlands. 14/60 corresponds to 23.33 Islands for 100 card decks, with 44.67% of at least 3 by turn 4.
With that reference, it may be tempting to run 23-24 and call it a day, but keep in mind Delver’s card selection is far superior to that which we can achieve in singleton. Between 4 Brainstorms and 4 Ponders (and 4 Expressive Iterations at the time), Delver’s ability to find Islands when needed is much greater than the weak-looking 44.67% suggests. To compensate for this card quality disparity, it’s best to err towards slightly more Islands if the manabase allows.
Finally, consider the practical constraints of your manabase. How many basic Islands can you run before it disrupts the color balance of the deck, or causes you to play too many lands? For a UR Tempo deck in singleton, there are only 8 on-color Fetchlands and two untapped Island Mountain duals. To enable playing both U and R costed 1 drops on turn 1, some number of untapped non-Island duals are required. As such, it often isn’t feasible for tempo decks to play more than 24/100 or 15/60 Islands while retaining a relatively low land count.
In summary, while mono-blue decks can meet the 35+ Island count threshold, multicolor decks should run as many Islands as they can while still having enough colored sources to cast their spells on curve, with 24/100 or 15/60 between Fetchlands, Island duals and basics as a reasonable floor.
To summarize, here are some common numbers for manabases that a hypergeometric calculator can help tune:
- total number of lands to have some amount of mana by a certain turn
- colored sources to cast 1 drops on turn one
- colored sources to cast cards with two or more of the same pip on curve
- lands of a basic land type (Arbor Elf, Mystic Sanctuary, Checklands)
- snow basics (Arcum’s Astrolabe)
Optimizing Exact Counts
In the previous examples, we’ve been using “at least” as our metric of focus. One issue with this methodology is that it doesn’t account for when too many successes are actually undesirable. Decks that want every opening hand to have at least two lands typically don’t want 5 or more lands. While the probability of getting 5 or more lands is fairly low for most decks (a 24/60 or 40/100 land deck only has 8-9% of 5+), there are some low curve decks that can function on 3 to 4 lands for the whole game and never want to draw another. For these decks and other strategies with tight ranges of keepable hands, we can use a hypergeometric calculator to optimize for exact values of desired lands in the opening hand.
Consider Mono-Red Aggro in Canlander, a deck with an average mana value of around 1.5 – 1.65. Two lands in the opening hand is generally the ideal number, as missing the second land drop is a disaster and land draws up to the fourth are useful for double spelling on later turns. The fifth land is only useful for some mana sinks like Firebolt, and everything beyond is a dead draw.
This leaves us wanting a narrow range of 2-3 lands in every opening hand. Another problem is that Mono-Red typically does not function well when mulliganing to 5 or lower, as it relies on the additive synergy of multiple below-average quality cards to kill the opponent quickly. These constraints put a lot of pressure on us to get our total number of mana sources exactly right.
Spread of exact probabilities for number of mana sources in an opening 7 card hand:
| Total Mana Sources out of 100 | Exactly 2 | Exactly 3 | 2 or 3 |
|---|---|---|---|
| 27 | 32.94% | 19.89% | 52.82% |
| 28 | 33.04% | 21.05% | 54.09% |
| 29 | 33.02% | 22.18% | 55.20% |
| 30 | 32.89% | 23.26% | 56.14% |
| 31 | 32.65% | 24.28% | 56.92% |
| 32 | 32.30% | 25.23% | 57.53% |
| 33 | 31.86% | 26.12% | 57.98% |
| 34 | 31.32% | 26.94% | 58.26% |
| 35 | 30.70% | 27.68% | 58.38% |
| 36 | 30.01% | 28.34% | 58.35% |
This data shows the spread of hypergeometric outputs of the exact probability of 2 or 3 sources in the opening hand for 27-36/100 total sources.
Using an average mana value of 1.5, Karsten’s formula outputs 36 lands for a one mox points spread for a total of 37 mana sources. For a deck that usually wants no more than 4 sources in play, 37 is too high. In the above data, the probability of exactly 2 sources in the opening hand peaks at 28 sources, exactly 3 continues to increase beyond this range, while the combined probability of 2 or 3 peaks at 35. So our answer probably lies somewhere in the range of 28-35, but where?
Choosing 28 maximizes our probability of getting the best number, but the probability of a bad number (0-1, 4-7) is 4.29% higher than 35. 35 maximizes the probability of the acceptable range, but this combined probability weighs the value of 2 and 3 equally, which isn’t exactly what we want.
One way to express our preferences would be to assign weights to the range of values. If we give the best value a weight of 1.0, the others can be weighted between 0 and 1.0 relative to how close they are to the best value. Then, multiply the weights by the hypergeometric outputs and use their sum as a “score”.
Spread using weights (Two sources: 1.0, Three sources: 0.75)
| Total Mana Sources | Exactly 2 | Exactly 3 | 2 or 3 (weighted) |
|---|---|---|---|
| 30 | 32.89% | 23.26% | 50.33 |
| 31 | 32.65% | 24.28% | 50.85 |
| 32 | 32.30% | 25.23% | 51.23 |
| 33 | 31.86% | 26.12% | 51.45 |
| 34 | 31.32% | 26.94% | 51.53 |
| 35 | 30.70% | 27.68% | 51.46 |
After assigning 3 a weight of 0.75, we can see that the best cumulative score shifted slightly to 34, with 33 and 35 being extremely close.
The selection of weights here is admittedly subjective, so use your best judgment. One bias to be aware of is if you have a preferred number of lands in mind, it’s easy to coerce the weights until that outcome rises to the top.
In summary, we’ve covered what a hypergeometric calculator is, examples of manabase questions it is suited to answer, and more advanced applications for complex situations. If all of this seems overwhelming, please be assured that it is not necessary to apply all of these methods in rigorous detail to produce a functional manabase. My hope is that you come away from this with an understanding of what kinds of questions your deck asks of you and how to use this tool to answer them.
Choosing the Cards
In this section, I’ll cover the most common cycles of cards used to fill out a manabase.
The Five Moxen
For many aggro and midrange decks, their point spreads and manabases begin with their on-color moxen. The moxen are often the best option for proactive fair decks that aren’t looking to maximize on Sol mana.
Mana Crypt, Sol Ring, Ancient Tomb, City of Traitors
These “Sol mana” cards are the core engine of decks looking to accelerate out 3 and 4 mana spells in the early turns. The number of colored sources in a deck with these powerful accelerants should be tuned to reliably have at least one in the opening hand.
Chrome Mox
In monocolored decks willing to pay the imprint cost, Chrome Mox can be treated like an on-color mox in directly replacing a basic of that color. In multicolored decks, the colors it is likely to produce is directly proportional to the distribution of colored costs in your deck. This makes it less reliable at producing any specific color, and thus I recommend counting Chrome Mox towards your total mana source count but not as a source of any particular color, unless your color distribution is heavily skewed. Keep in mind that you cannot imprint colored artifacts.
Mox Diamond
Mox Diamond is a difficult card to evaluate. The cost of discarding a land makes it card negative and net neutral toward the number of available mana sources, essentially trading a future land drop for an additional one now. Outside of decks that can utilize lands in the graveyard, I believe that Mox Diamond is mainly suited towards decks that need to hit a certain type and amount of mana as quickly and consistently as possible but don’t need more mana beyond that. These decks are willing to run more lands than their average mana value requires in order to reach these thresholds, and thus can make good use of the exchange of a future land for an immediate moxen. Examples include Doomsday, Dark Depths, and some Storm decks.
Tolarian Academy and Gaea’s Cradle
Powerful build-arounds. As a rough guideline, you’ll need 18/100 or 10/60 of the corresponding permanent type of mana value <=1 for these to have a ~75% chance to produce mana on turn 2, or 30/100 or 17/60 of mana value <=2 for ~75% to produce 2+ mana on turn 3.
Dual Land Cycles
The following is a list of common dual land cycles, loosely ranked by playability for 20 life formats. When filling out a manabase, I usually start by going down this list and periodically checking how I’m doing towards hypergeometric requirements. The recommended numbers are a rough guideline.
Fetchlands
good in: all multicolor decks, monocolored decks with a graveyard theme
recommended number: all available
The ten fetchlands are the most powerful form of color fixing of all land cycles in eternal formats. When played with the original dual lands and the triomes, they offer unparalleled flexibility and access to your colors. Multicolored decks should generally play every fetchland that touches at least one of the deck’s colors. For decks that can afford to play basics, Prismatic Vista is also highly recommended.
Original Dual Lands
good in: all multicolor decks
100 card recommendations:
2-3 color: all
4-5 color: all touching core colors
The original dual lands are the best cycle of typed untapped dual lands. Many four and five color decks have one or two core colors, with the rest being a lighter splash. These decks will want every dual touching their core colors, with the rest being optional.
Shocklands
good in: all multicolor decks
100 card recommendations:
2-3 color: all
4-5 color: 3-4
Staples of Standard, Modern and Pioneer, and the next best cycle after the original duals. In 4+ color decks, drawing too many Shocklands can be a liability in certain matchups, so I recommend sticking to 3-4 of the ones touching your primary colors.
Triomes
good in: 3+ color decks without many 1 drops
100 card recommendations:
3 color: usually
4-5 color: 1-4
The triomes have significantly improved the consistency of 3+ color decks in singleton formats, especially for decks with fewer turn 1 plays. But how many should you play in 4+ color decks? If we assume a preference of seeing 0-1 triomes in the first four turns, running 4/100 or 3/60 keeps us under 5-7% to see two or more, while 6/100 or 4/60 exceeds 10%.
Fastlands
good in: all multicolor decks
100 card recommendations:
2-3 color: all
4-5 color: 3-4
While the prospect of entering tapped may seem unappealing, three turns to sequence fastlands is in practice a fairly generous window. When lands make up 30-40% of most decks, there is a greater than 56% chance of seeing 2-3 lands in the opening hand, of which the fastlands play very well.
Painlands
good in: two color decks, multicolor decks heavy on one or two colors
100 card recommendations:
2 color: yes
3-5 color: max 4 of painful sources
Reliable untapped sources of two colors at a price. Having two or more lands that damage you repeatedly among your first three land drops is untenable in 20 life formats, so between these, the Horizon lands, and City of Brass/Mana Confluence, I recommend keeping the total number to no more than 4/100 or 3/60.
Slowlands

good in: decks playing 37/100, 22/60 or more lands
100 card recommendations:
2 color: yes
3-5 color: 1-4
Best in decks that want at least 3 lands in the opening hand. Playing 36/100 or 21/60 other lands gives you an ~85% chance to hit your first two land drops on the play to enable these.
Checklands
good in: decks that play a lot of a specific basic land type
100 card recommendations:
2 color: yes
3-5 color: 2-4 touching the chosen type
With 20/100 or 12/60 lands having or fetching a basic land type, these will have a 75% chance of coming in untapped in an opening 7.
Pathways
good in: two color decks, three color decks with Tainted Pact
Good for two color decks, but multicolor decks generally prefer that their nonbasic lands produce more than one color.
Horizon Lands
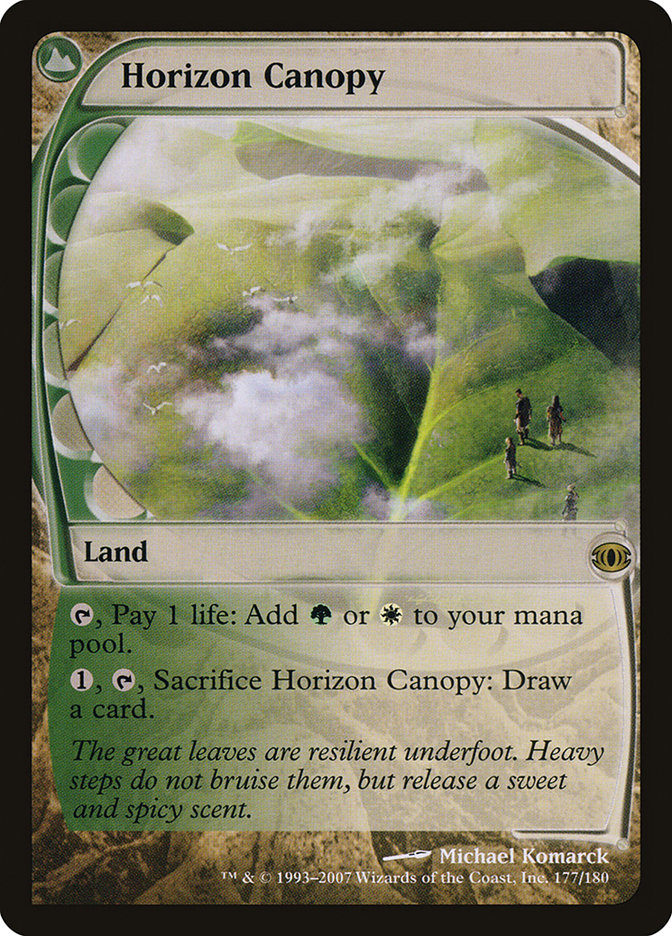
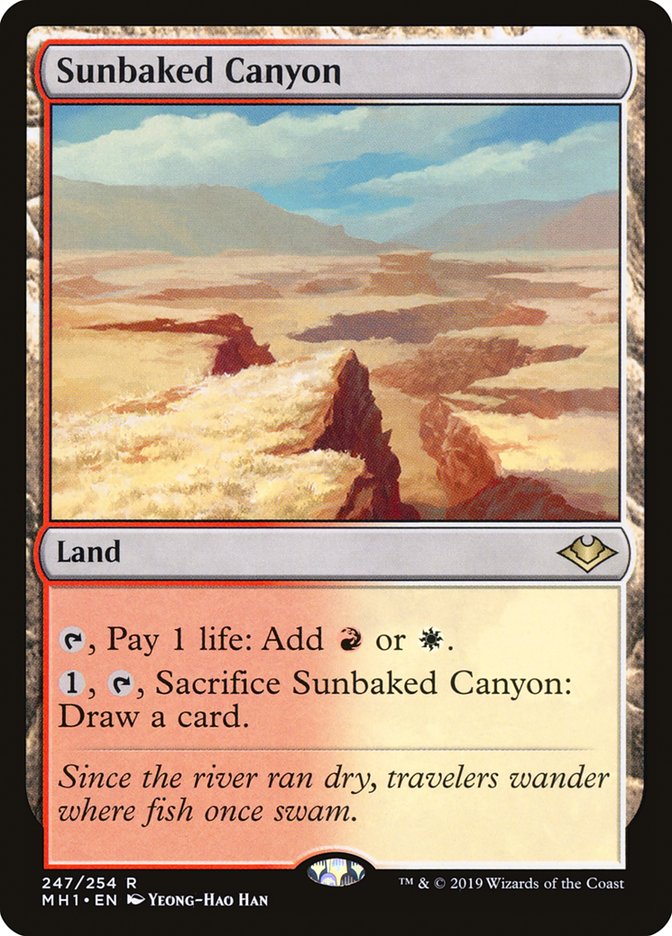
good in: monocolor aggressive decks, two color decks
100 card recommendations:
monocolor: all
2 color: yes
3-5 color: max 4 of painful sources
Good in monocolored and two color aggressive decks. Very bad in mana-hungry decks and when drawn in multiples.
City of Brass and Mana Confluence
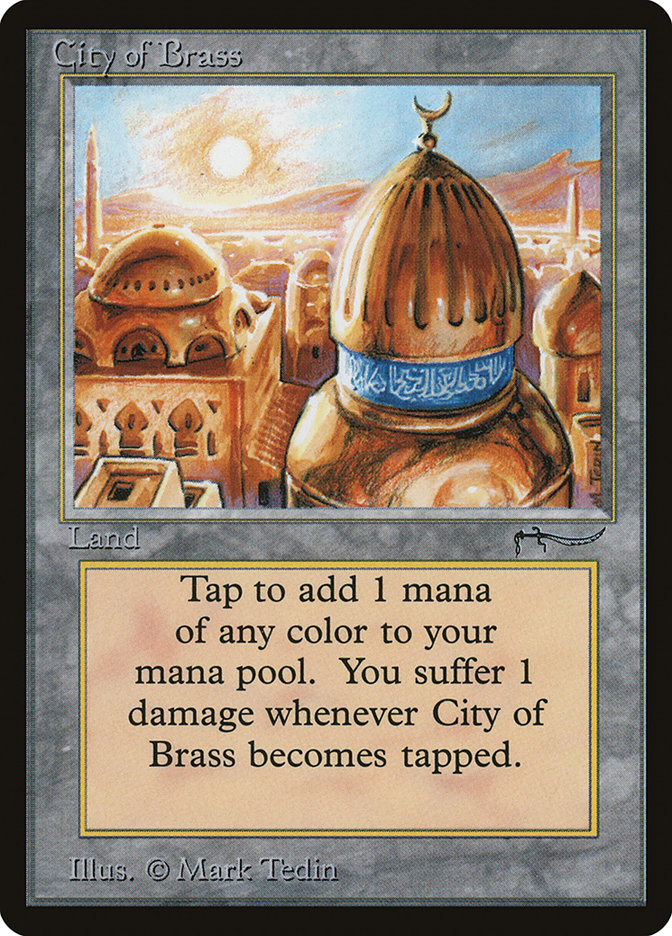

good in: 3+ color decks playing short games
recommended number: max 4 of painful sources
These untapped sources of any color are suited for multicolored decks playing a relatively low land count that aren’t interested in playing long games, namely combo decks and 4+ color aggro decks.
Filter Lands
good in: decks with double-pipped costs in two colors
recommended number: 0-1
Decks with densely pipped costs in two colors like to draw exactly one copy of these.
“Bicycle” Lands
good in: reactive two color decks
A nice fetchable option for reactive two color decks looking to play longer games where the cycling ability is relevant.
Utility Lands
Lands that provide powerful utility when the manabase can afford them.
Wasteland and Strip Mine
Wasteland is probably the most commonly played utility land in Canlander. These two are absolute menaces on the play, especially potent in combination with fast artifact mana and brutal towards opponents who mulligan heavily. Aggressive decks with points invested in fast mana can generally make good use of Wasteland, provided they have a sufficient number of colored sources first.
Strip Mine tends to compare unfavorably to Moxen in multicolor decks and on the draw. It is most commonly played in monocolored aggressive strategies or land synergy decks. In sanctioned non-proxy events, Strip Mine is a potent budget option for points.
Karakas
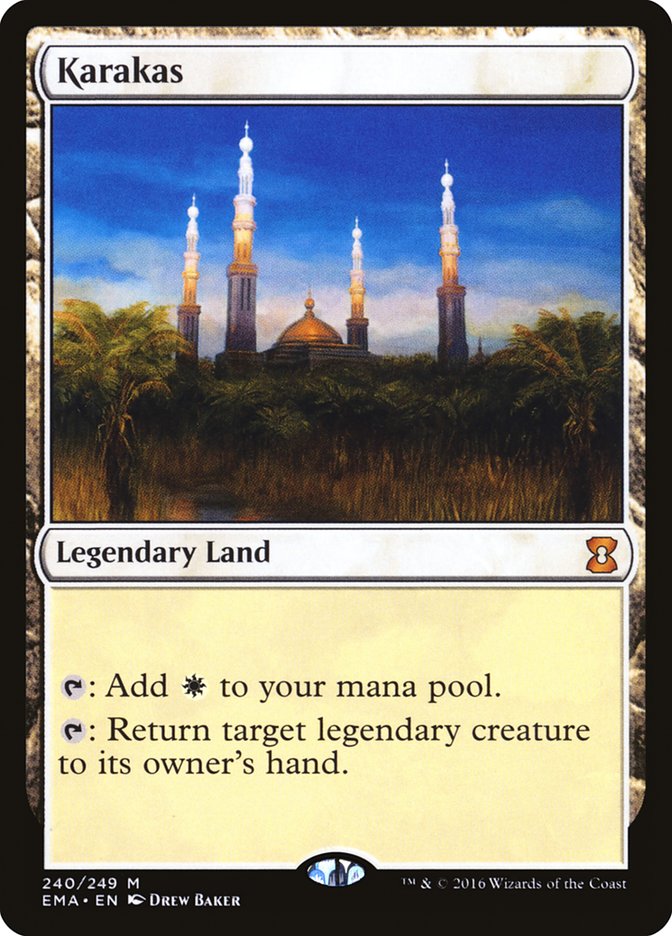
Possibly the single most warping card towards deck construction in Canadian Highlander. An auto-include in all white decks, this monstrosity Unsummons and then Meddling Mage’s all of your opponent’s legendary creatures. I strongly urge you to reconsider running legendary creatures without immediate impact or below a certain power threshold if you expect to see this card in your meta. There are very few experiences more infuriating than losing to a land when you draw one or more legends.
Urza’s Saga
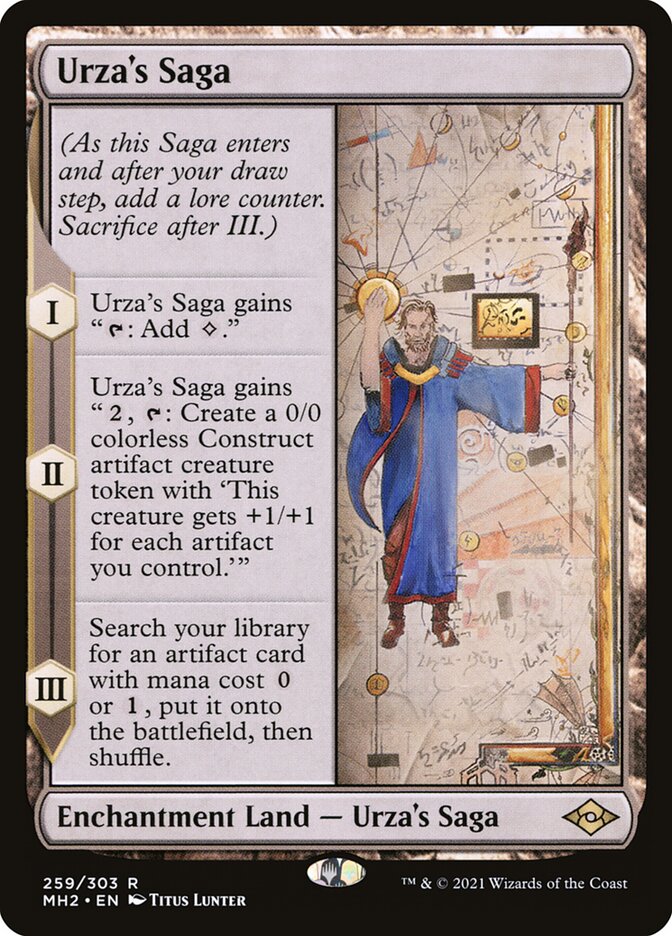
A powerful addition to artifact decks and other strategies that can afford the slot. Plays particularly well with decks running Moxen, Mana Crypt or Sol Ring, or graveyard recursion.
The Neon Dynasty Cycle
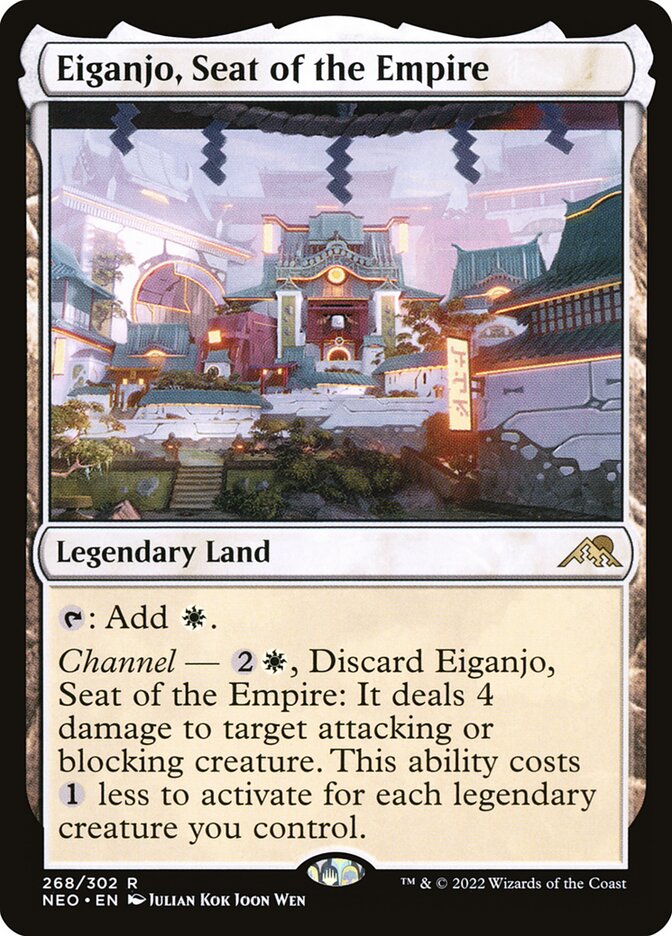
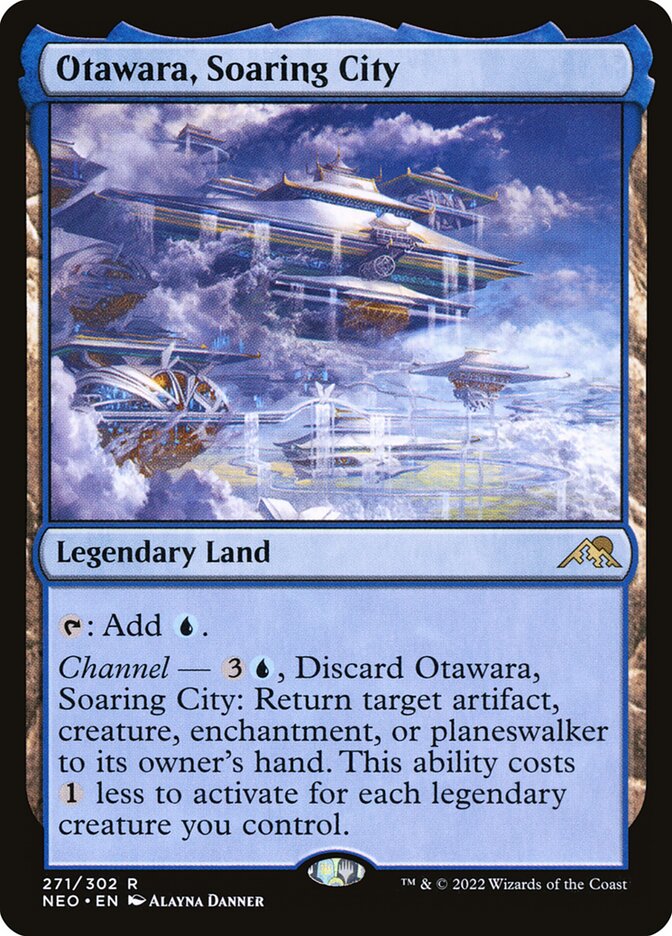

One of the best utility land cycles for singleton. Generally worth playing in decks interested in more than one of a certain basic.
Urborg, Tomb of Yawgmoth and Yavimaya, Cradle of Growth
Useful in decks with a high density of black or green pips.
Creature Lands
Powerful mana sinks for aggressive decks or slow control decks. The Forgotten Realms cycle, Mutavault, and Mishra’s Factory are the best options for coming into play untapped.
Modal Double-Faced Cards
Useful as spells that fractionally increase your land count. Emeria’s Call and Shatterskull Smashing in particular are often played alongside Chrome Mox and Solitude or Fury.
The Eldraine Castles
Occasionally played as late game mana sinks in decks capable of enabling Checklands.
Cavern of Souls, Secluded Courtyard and Unclaimed Territory
Good options for tribal decks.
Library of Alexandria
An extremely polarizing card. Backbreaking in the opening hand when keeping a good 7, and worse than a Wastes in most other circumstances. Interestingly, the desired play pattern of playing one land and one spell every turn cycle can apply to both reactive and proactive decks.
A Comprehensive Example
To wrap up, let’s go through a complete example of building a manabase for Rakdos Goblins in Canadian Highlander, using all the ideas showcased in this article.
Rakdos Goblins initial decklist.
Creatures (53)
Exuberant Fuseling
Goblin Chirurgeon
Goblin Guide
Goblin Lackey
Goblin Motivator
Goblin Sledder
Legion Loyalist
Mogg Fanatic
Mogg Raider
Ragavan, Nimble Pilferer
Skirk Prospector
Torch Courier
Ardoz, Cobbler of War
Battle Cry Goblin
Conspicuous Snoop
Gempalm Incinerator
Goblin Bushwhacker
Goblin Cratermaker
Goblin Instigator
Goblin Piledriver
Goblin Recruiter
Goblin Wardriver
Metallic Mimic
Mogg War Marshal
Moria Marauder
Munitions Expert
Orcish Bowmasters
Rundvelt Hordemaster
Sparksmith
Warren Instigator
Boggart Harbinger
Goblin Chieftain
Goblin King
Goblin Matron
Goblin Rabblemaster
Goblin Warchief
Gut, True Soul Zealot
Hobgoblin Bandit Lord
Imperial Recruiter
Krenko, Tin Street Kingpin
Legion Warboss
Pashalik Mons
Squee, Dubious Monarch
_ Goblin
Goblin Ringleader
Goblin Trashmaster
Krenko, Mob Boss
Murderous Redcap
Sling-Gang Lieutenant
Twinshot Sniper
Fury
Kiki-Jiki, Mirror Breaker
Muxus, Goblin Grandee
Sorceries (1)
Hordeling Outburst
Instants (2)
Lightning Bolt
Tarfire
Artifacts (6)
Black Lotus
Chrome Mox
Mox Ruby
Aether Vial
Skullclamp
Smuggler’s Copter
Enchantments (1)
Fable of the Mirror-Breaker
Sideboard (10)
Ancestral Hot Dog Minotaur
Eldrazi Guacamole Tightrope
Misunderstood Trapeze Elf
Narrow-Minded Baloney Fireworks
Phyrexian Midway Bamboozle
Playable Delusionary Hydra
Trained Blessed Mind
Unassuming Gelatinous Serpent
Unglued Pea-Brained Dinosaur
Unsanctioned Ancient Juggler
1. Frank Karsten’s Formula
With three cards (Black Lotus, Mox Ruby, Chrome Mox) that take the place of a land, we have 60 spells. Since Gempalm Incinerator and Goblin Bushwhacker are expected to be played on their two mana modes, after adjustment we have a total mana value of 142, giving us an average mana value of 2.37 rounded up. With one cycler (Gempalm Incinerator) and two pieces of ramp (Aether Vial, Skirk Prospector) Karsten’s formula outputs 36.3 lands.
| Deck Name | Average Mana Value | Card Draw | Ramp | Fast Mana | Untapped MDFCs | Tapped MDFCs | Recommended Number of Lands |
|---|---|---|---|---|---|---|---|
| Rakdos Goblins | 2.37 | 1 | 2 | 3 | 0 | 0 | 36.3 |
If we choose to round down to 36 lands we would have an extra spell slot that would change our average mana value again. Let’s go with 37 as our starting point for now, giving us a total of 40 mana sources.
2. Hypergeometric Considerations
Looking through our chosen spells and thinking about what a good hand looks like for this deck, we can identify some goals:
- the ideal hand has three mana sources, a 1 drop, 2 drop, and a 3 drop
- enough untapped red sources to cast R one drops and RR two drops
- enough black sources to cast our black spells on curve
- enough basics to enable Dragonskull Summit
Probabilities of exactly three mana sources in the opening hand:
39: 29.79%
40: 30.10%
41: 30.31%
42: 30.43%
43: 30.45%
44: 30.39%
The above spread of probabilities for exactly three mana sources in the opening hand shows a peak at 43 sources, with 42-44 all within a range of .06%. The 39-40 sources from Karsten’s formula isn’t far off from this desired range.
It’s tricky to quantify how good two or four lands are compared to three lands. Missing the third land is very bad when keeping a two land hand, but the fifth land and beyond are usually useless in a three spell hand. If we prefer two lands on the draw and four lands on the play, I think it’s close enough to say they are on average equally desirable, and thus assigning weights wouldn’t change the above spread.
After all that, it seems anywhere between 37-40 lands for 40-43 total mana sources is reasonable for optimizing the opening hand. I’m going to cut a 1 drop (Exuberant Fuseling) and try 38 lands, with the intention of treating Aether Vial in the opening hand as the 42nd mana source.
Probability of having an untapped red source turn 1 on the play:
> population: 100, sample size: 7, successes in population: 34, target: 1

> at least 1: 95.13%
Probability of having two red sources turn 2 on the play:
> population: 100, sample size: 8, successes in population: 40, target: 2

> at least 2: 90.32%
Using our somewhat arbitrary benchmarks of 75% being “ok”, 85% being “reliable”, and 90% being “very reliable”, 34 untapped red sources is very safe for casting R one drops on curve. For 2 drops, 40 has 90.32% for two red sources with one draw step and 85.08% with just the opening hand. A 90% benchmark is pretty strict, but keep in mind that most of the RR two drops in this deck (Warren Instigator, Moria Marauder) need to be played on curve for best effect.
The numbers 34 and 40 were reached by trying out different values for successes in population until the “at least” output met our benchmarks.
So of our 38 lands, at least 37 must produce red, and at least 31 must enter untapped turn 1.
Probability of having at least one black source with 20 total:
opening hand: 80.15%
      turn 2: 84.42%
      turn 3: 87.81%
      turn 4: 90.49%
20 was chosen as the lowest number where these metrics look ok. After Black Lotus we need 19 black producing lands. With the previous requirement that 37 lands produce red, that means pretty much all of these black sources also need to produce red.
Probability of having a Mountain or Swamp turn 1 for Dragonskull Summit:
23: 84.98%
27: 89.82%
With 7 fetchlands, Badlands and Blood Crypt, we would need 14 basics to minimally satisfy this requirement, with 18 as a stretch goal. Not unreasonable.
Summary of hypergeometric targets:
- 38 lands for 3 mana sources in the opening hand
- 37 red producing lands to cast RR two drops on curve, 31 of which enter untapped t1
- 19 black producing lands to cast black spells on curve
- 23-27 ways to get a Mountain or Swamp for Dragonskull Summit
3. Filling out the Lands
Let’s start with the obvious: the seven on-color Fetchlands, Badlands and Blood Crypt.
The first difficult question to answer is should we play a basic Swamp? Doing so would give us an equal number of black Fetchlands and fetchable black sources, and allow us to play Prismatic Vista. However, the requirement that 37/38 lands produce red means we only have one flex slot available, for which a colorless utility land like Ancient Tomb and Urza’s Saga is highly desirable.
If we were to play Blood Moon/Magus of the Moon or expect to play against them and initiative decks, the basic Swamp would be an easy inclusion. Otherwise, I think we can attempt to meet our black source requirements without it and save room for a powerful colorless land.
Status:

lands: 9/38
red sources: 9/37 (9/31 untapped t1)
black sources: 9/19
mountains/swamps: 9/23-27
Running effectively 8 copies of Badlands is why the Fetchland + dual land combination is so good.
Next, let’s add untapped lands that produce black and red.
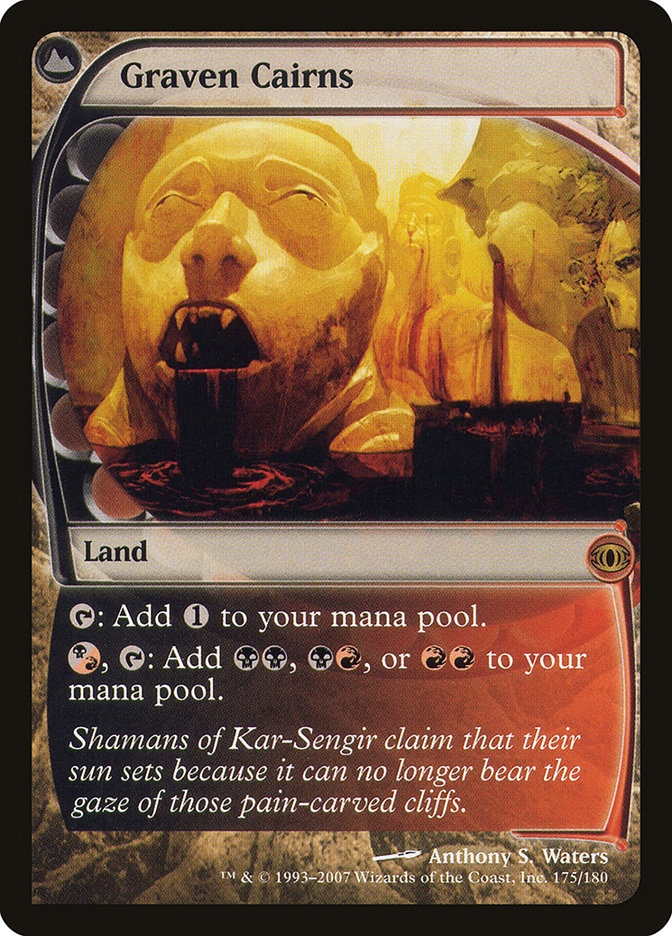
Blackcleave Cliffs, Sulfurous Springs, Graven Cairns, Haunted Ridge, Dragonskull Summit
Graven Cairns is like a more flexible version of Dragonskull Summit in that it is enabled with any red or black producing land on turn 1.
As a tribal deck, we also get to count Cavern of Souls, Secluded Courtyard, and Auntie’s Hovel as red and black sources for goblins.
Status:

lands: 17/38
red sources: 17/37 (14/31 untapped t1)
black sources: 17/19
mountains/swamps: 9/23-27
With Dragonskull Summit in, let’s throw in the minimum number (14) of basic Mountains as well.
Status:

lands: 31/38
red sources: 31/37 (28/31 untapped t1)
black sources: 17/19
mountains/swamps: 23/23-27
Nearly there! Of the remaining 7 lands, 6 need to produce red, of which 3 needs to be untapped turn 1, and two must also produce black.
There are a few options to cover these last remaining slots. As mentioned earlier, basic Swamp and Prismatic Vista would cover our black source needs. We could dip into more painful sources such as City of Brass, Mana Confluence and Mount Doom. Or we could play Swamp/Mountain dual lands with tapped conditions like Canyon Slough and Smoldering Marsh.
I’ve decided to go with Mount Doom and Blightstep Pathway, prioritizing lands that enter untapped, but any of the previously mentioned alternatives are reasonable here.
Status:

lands: 33/38
red sources: 33/37 (30/31 untapped t1)
black sources: 19/19
mountains/swamps: 23/23-27
You can fill out the last four red sources with your choice of basics and utility lands. I like Den of the Bugbear, Sokenzan, Crucible of Defiance and Castle Embereth as early untapped red sources with upside as mana sinks in the late game. Horizon lands like Sunbaked Canyon are ok here, but I personally don’t like them as early draws in mana hungry decks like Goblins. I’m going with a basic Mountain for the last slot.
Status:

lands: 37/38
red sources: 37/37 (33/31 untapped t1)
black sources: 19/19
mountains/swamps: 24/23-27
With all our colored requirements responsibly satisfied, we can treat ourselves to a colorless utility land. The best options available are Ancient Tomb, Urza’s Saga, Wasteland, and Mutavault. I think we can eliminate Mutavault for being less powerful than the other three. While the mana sink of Urza’s Saga is mediocre, the tutoring ability is versatile as it can search for a reliable red source in Mox Ruby, a burst of mana in Black Lotus, or card advantage in Skullclamp. Ancient Tomb is powerful both on the play and on the draw in accelerating out our higher curve threats. Wasteland is nice if your meta has a lot of Tolarian Academy or Gaea’s Cradle decks, but the combination of Ancient Tomb and Blood Moon/Magus of the Moon is probably more effective as nonbasic hate. Both Tomb and Saga are reasonable choices, so it’s up to personal preference. I’m going with Ancient Tomb.
Creatures (52)
Goblin Chirurgeon
Goblin Guide
Goblin Lackey
Goblin Motivator
Goblin Sledder
Legion Loyalist
Mogg Fanatic
Mogg Raider
Ragavan, Nimble Pilferer
Skirk Prospector
Torch Courier
Ardoz, Cobbler of War
Battle Cry Goblin
Conspicuous Snoop
Gempalm Incinerator
Goblin Bushwhacker
Goblin Cratermaker
Goblin Instigator
Goblin Piledriver
Goblin Recruiter
Goblin Wardriver
Metallic Mimic
Mogg War Marshal
Moria Marauder
Munitions Expert
Orcish Bowmasters
Rundvelt Hordemaster
Sparksmith
Warren Instigator
Boggart Harbinger
Goblin Chieftain
Goblin King
Goblin Matron
Goblin Rabblemaster
Goblin Warchief
Gut, True Soul Zealot
Hobgoblin Bandit Lord
Imperial Recruiter
Krenko, Tin Street Kingpin
Legion Warboss
Pashalik Mons
Squee, Dubious Monarch
_ Goblin
Goblin Ringleader
Goblin Trashmaster
Krenko, Mob Boss
Murderous Redcap
Sling-Gang Lieutenant
Twinshot Sniper
Fury
Kiki-Jiki, Mirror Breaker
Muxus, Goblin Grandee
Sorceries (1)
Hordeling Outburst
Instants (2)
Lightning Bolt
Tarfire
Artifacts (6)
Black Lotus
Chrome Mox
Mox Ruby
Aether Vial
Skullclamp
Smuggler’s Copter
Enchantments (1)
Fable of the Mirror-Breaker
Lands (38)
Ancient Tomb
Arid Mesa
Auntie’s Hovel
Badlands
Blackcleave Cliffs
Blightstep Pathway
Blood Crypt
Bloodstained Mire
Castle Embereth
Cavern of Souls
Den of the Bugbear
Dragonskull Summit
Graven Cairns
Haunted Ridge
Marsh Flats
Mount Doom
Mountain (15)
Polluted Delta
Scalding Tarn
Secluded Courtyard
Sokenzan, Crucible of Defiance
Sulfurous Springs
Verdant Catacombs
Wooded Foothills
Sideboard (10)
Ancestral Hot Dog Minotaur
Eldrazi Guacamole Tightrope
Misunderstood Trapeze Elf
Narrow-Minded Baloney Fireworks
Phyrexian Midway Bamboozle
Playable Delusionary Hydra
Trained Blessed Mind
Unassuming Gelatinous Serpent
Unglued Pea-Brained Dinosaur
Unsanctioned Ancient
And we’re done! As you can see, choosing the cards that make up a manabase is a careful balancing act of trying to satisfy all predetermined requirements. Sometimes it isn’t possible to perfectly satisfy all requirements, in which case it’s up to you to determine which ones are most important and where concessions should be made.
With the deck assembled, I recommend shuffling up, dealing some sample hands, and playing out a few turns by yourself to get a sense of how well the deck functions. After some goldfishing and real matches played, feedback can be incorporated to further fine tune the manabase. If you practice this cycle of applying manabase building theory, live testing, and incorporating feedback, you’ll become proficient at building manabases in short order. Go forth and brew!
About the author:
Kelvin Chen is a Software Engineer and singleton constructed enthusiast with two top 4s in premier Canadian Highlander tournaments. He also maintains a spreadsheet tracking weekly Discord webcam tournament data.